
Why 3D Data?
Architectural historians have been documenting buildings for centuries. Typically, that documentation takes the form of measured architectural drawings, photographs, and verbal description. While those remain valid methods to record historic architecture, new digital technologies can add greater accuracy and detail to the historical record. Unlike drawings, which cannot possibly record every minor bump in a wall or crack in the pavement, digital scanning records details with sub-centimeter, and sometimes even sub-millimeter accuracy.
3D data can be used in numerous ways. It can allow for the creation of highly accurate plans, sections, and elevations, which can be measured digitally with great precision. The data can be used to create BIM models which contribute to successful renovation and preservation efforts. Smaller scanning projects can create models which can be 3D printed, allowing much closer inspection of artifacts without fear of damage. They have even been used to create molds for souvenir candy!
the process
collecting 3d data
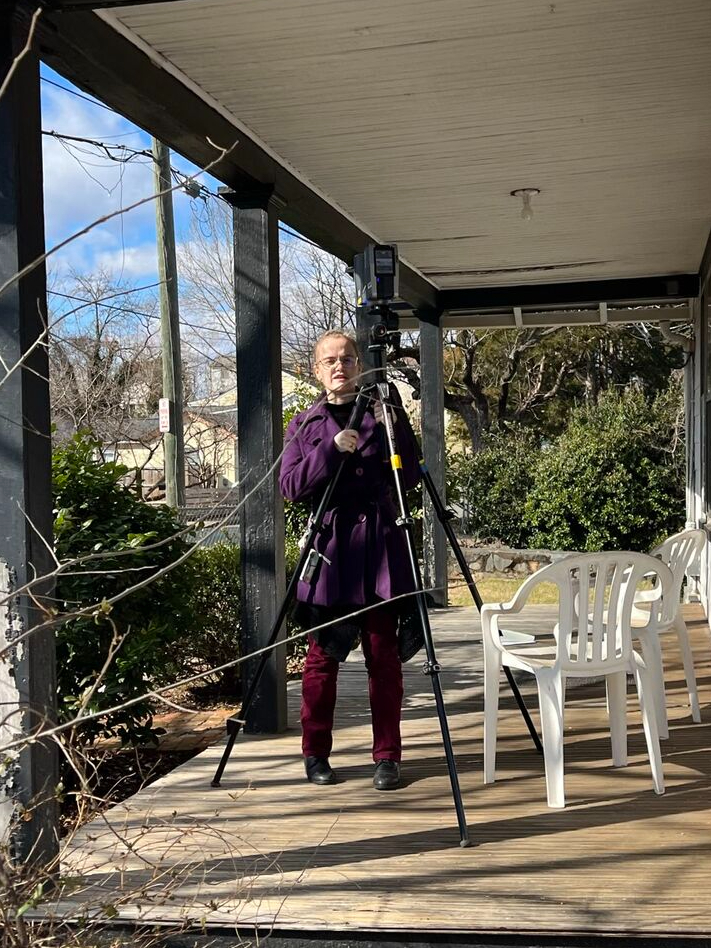
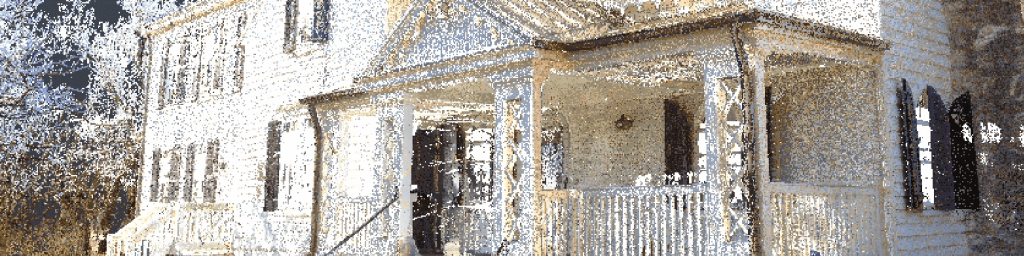
Scanning the exterior conditions of a condemned house in Charlottesville, VA. Photo by Will Rourk
The first step in any 3D scanning project is to do the actual scanning. This can be done in a variety of ways using a variety of tools and strategies. For larger projects, such as buildings and landscapes, we used FARO Focus scanners. These scanners are stationary and mounted on a tripod. This scanning method requires multiple scans taken from different locations to eventually capture all the data required. For smaller scanning projects, or projects with greater detail, handheld scanners can be used. These are moved around an object to obtain data. The artifact is moved and rotated between scans to ensure that the entire piece is recorded.
Processing Large-Scale 3D Data: FARO Scene
Just as there are different methods of collecting 3D data, there are different methods of processing that data. We used FARO Scene to register and process architectural scan data. When the individual scans are initially imported into the program, they are entirely unaligned with each other. Before anything else, the disparate files have to be aligned with one another, a process called registration. During registration, the scan files are grouped based on location, and each group is lined up separately. Then the groups, or clusters, are treated as if they were individual scan files and the process is repeated until all of the scans have been aligned. Then they can be processed, which adds color to the data.
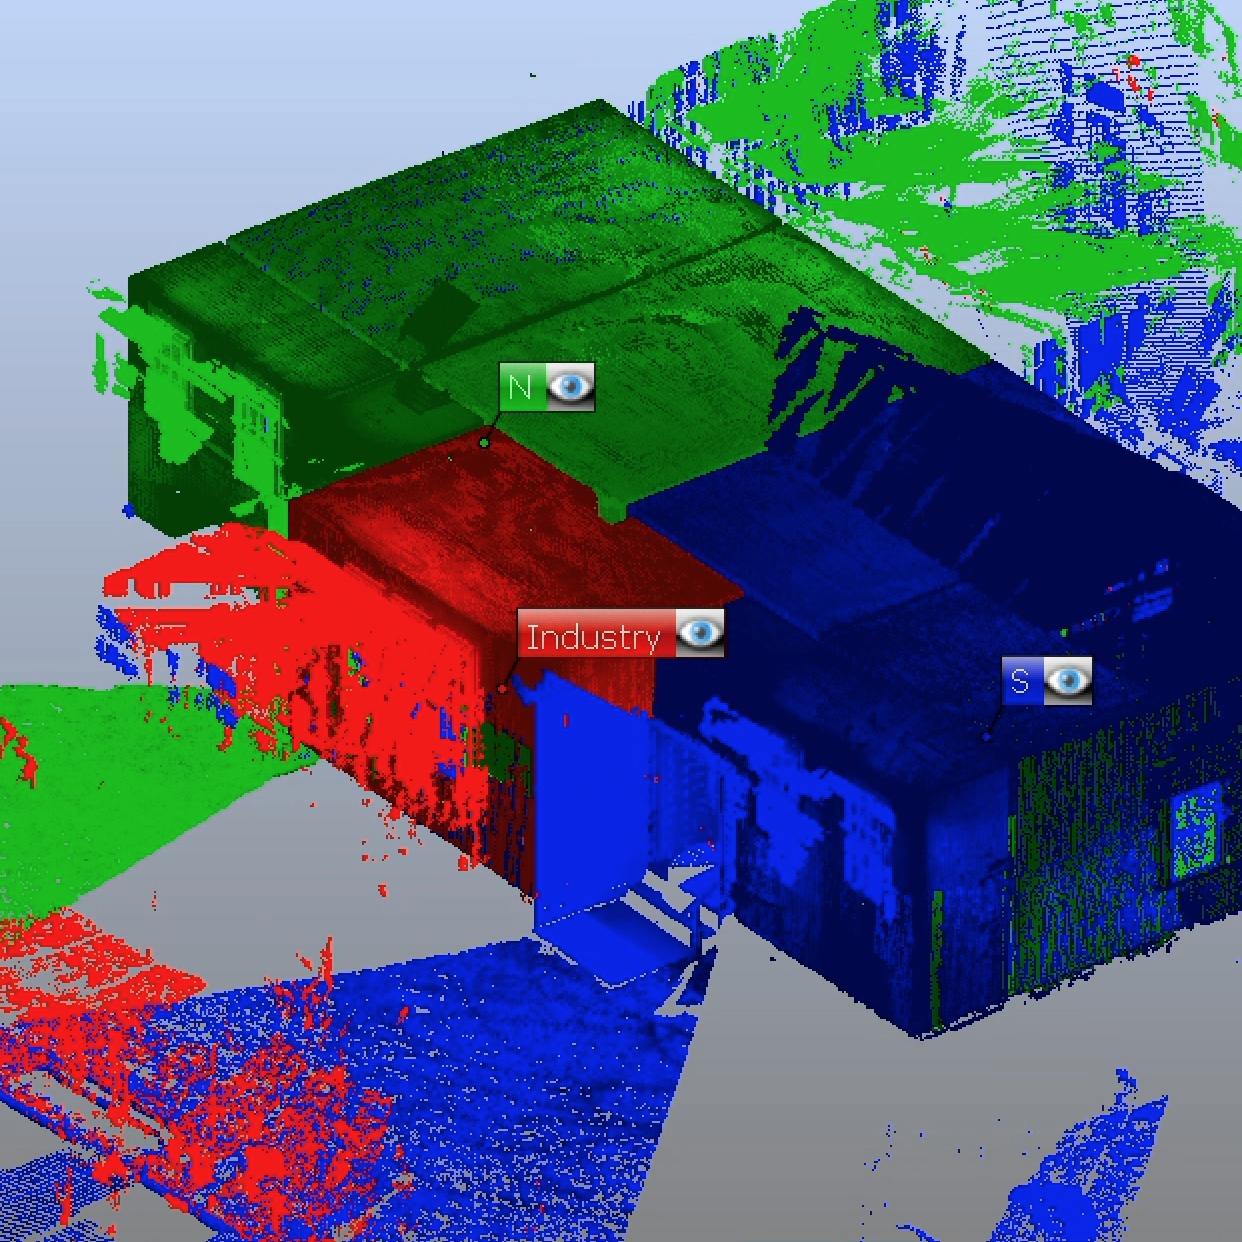
The main level of the St John Rosenwald School easily divided into three spaces during registration.
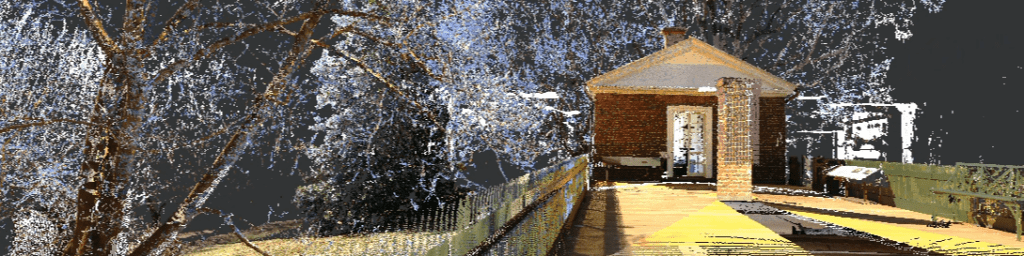
After processing, the data can be exported in a variety of formats. One of the most versatile formats is the .e57 format, which is what we import into Autodesk ReCap. ReCap allows us to create different views of the data, such as plans, sections, and elevations. It even makes fly-through animations!
Throughout my semesters working with Will I have had the opportunity to participate in several different architectural scanning projects, linked here.
-

Long Meadow Barn
Long Meadow is a plantation in Fishersville, VA. It was the site chosen for UVA’s Architectural History Field Methods class to investigate, and we were asked to scan it to support those students. One portion… Read more
-

Upper Bremo Barn
One of the first projects we undertook during the spring of 2023 was a barn on Bremo Plantation, in central Virginia. This barn was unique for several reasons. Physically, it’s a large, field stone and… Read more
-
Monticello
During late January and February of 2022, I had the opportunity to join Will Rourk as he scanned the interior of Thomas Jefferson’s Monticello. Read more
-
St. John Rosenwald School
The St. John Rosenwald School has the honor of being the project on which I learned how to register 3D data. The school was chosen because, as a building with only a few, simple spaces,… Read more
Processing Small-Scale 3D Data: Geomagic
The smaller artifacts we scanned we combined using GeoMagic. The Geomagic process has four basic steps. First, the scans must be imported into a single file. Before anything else can be done, any extraneous data must be removed. Then the files can be aligned and merged together. Finally, any holes in the resulting mesh must be patched before the file can be exported as a single object.
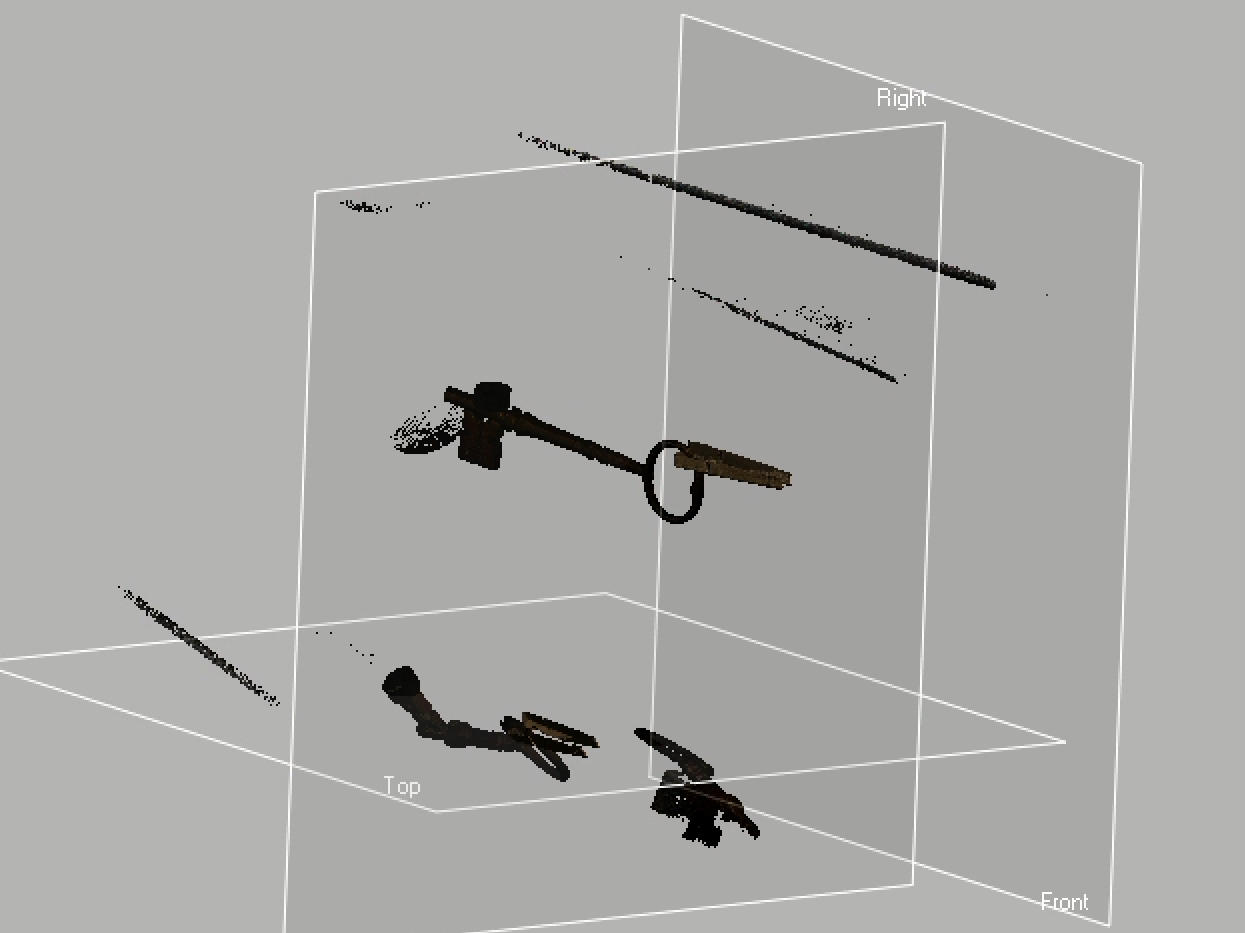
When scans are imported into GeoMagic, they contain extra data from the object’s surroundings that must be deleted.
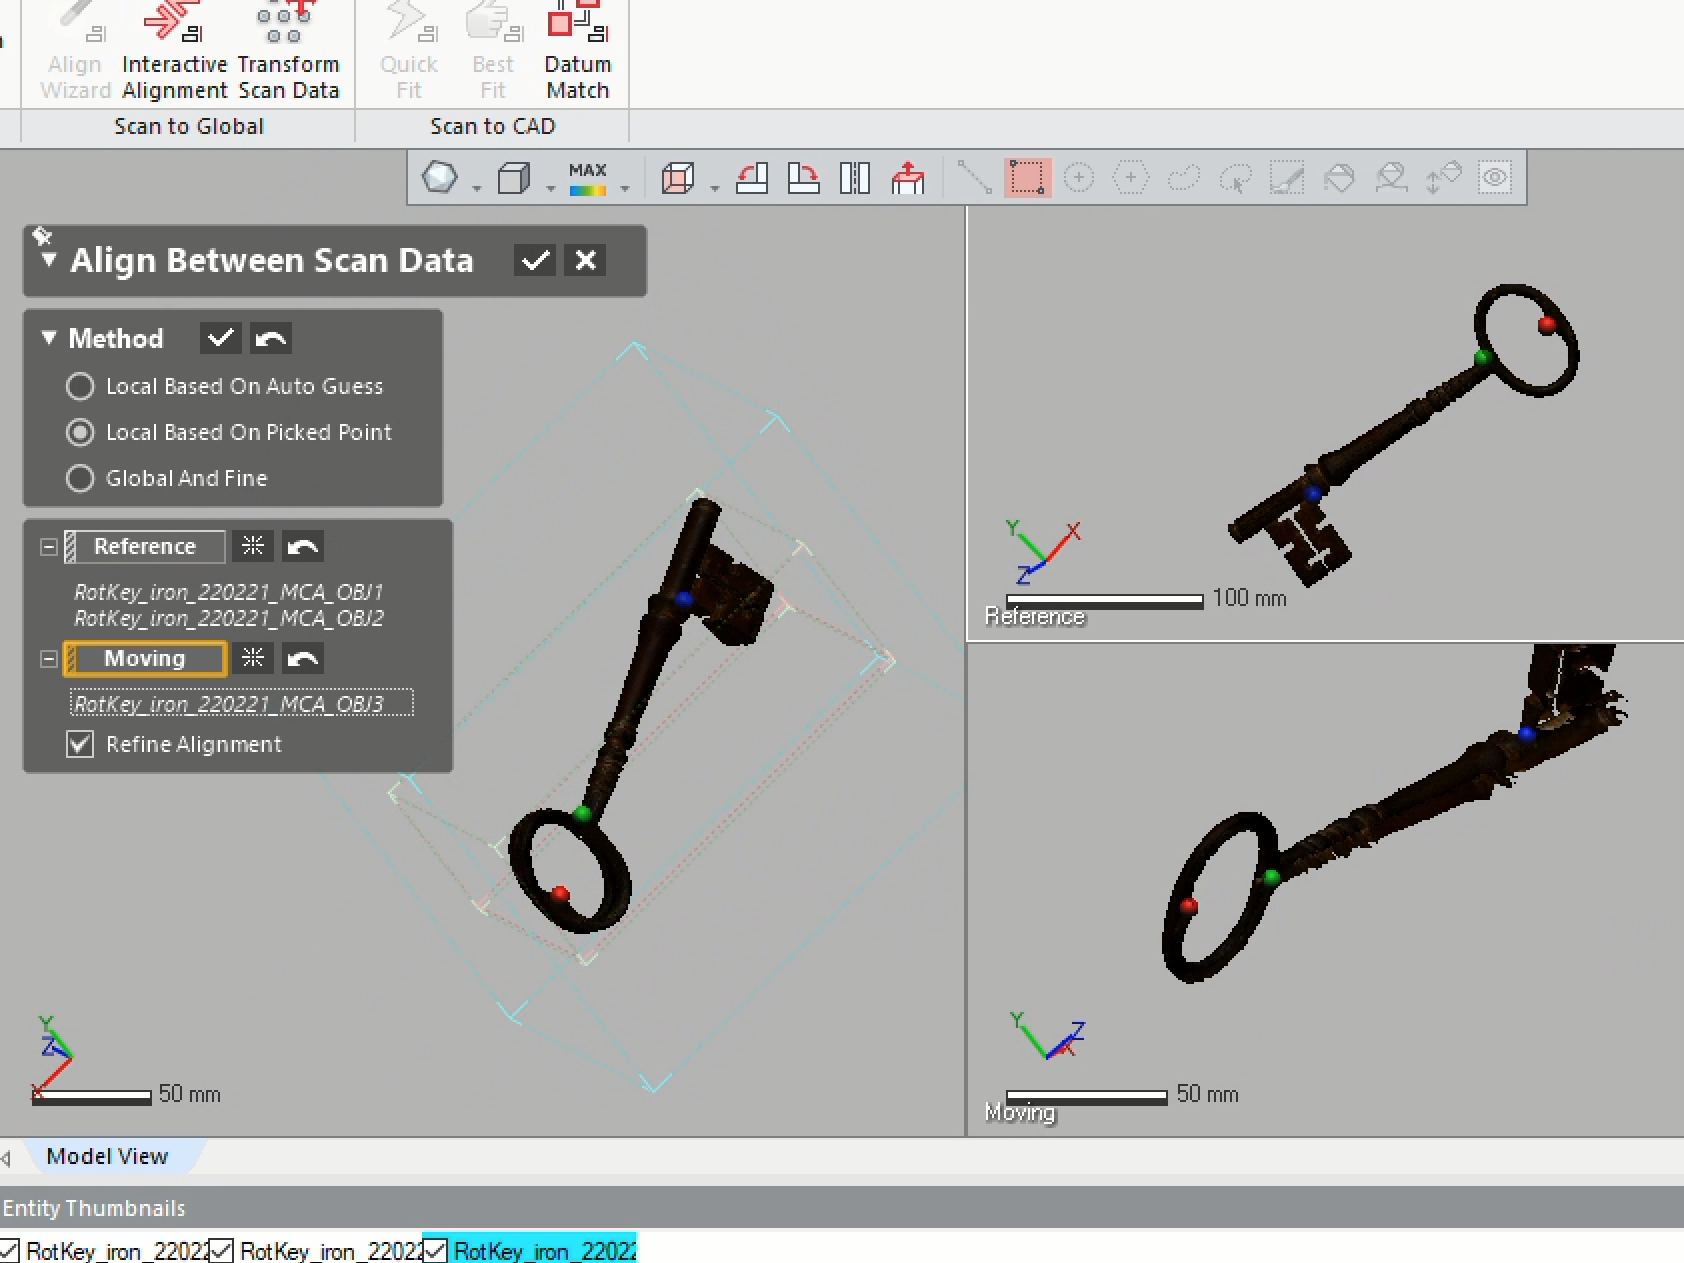
The second step is to align the scans. By selecting three matching points on each scan, the computer can combine disparate datasets into one entity.
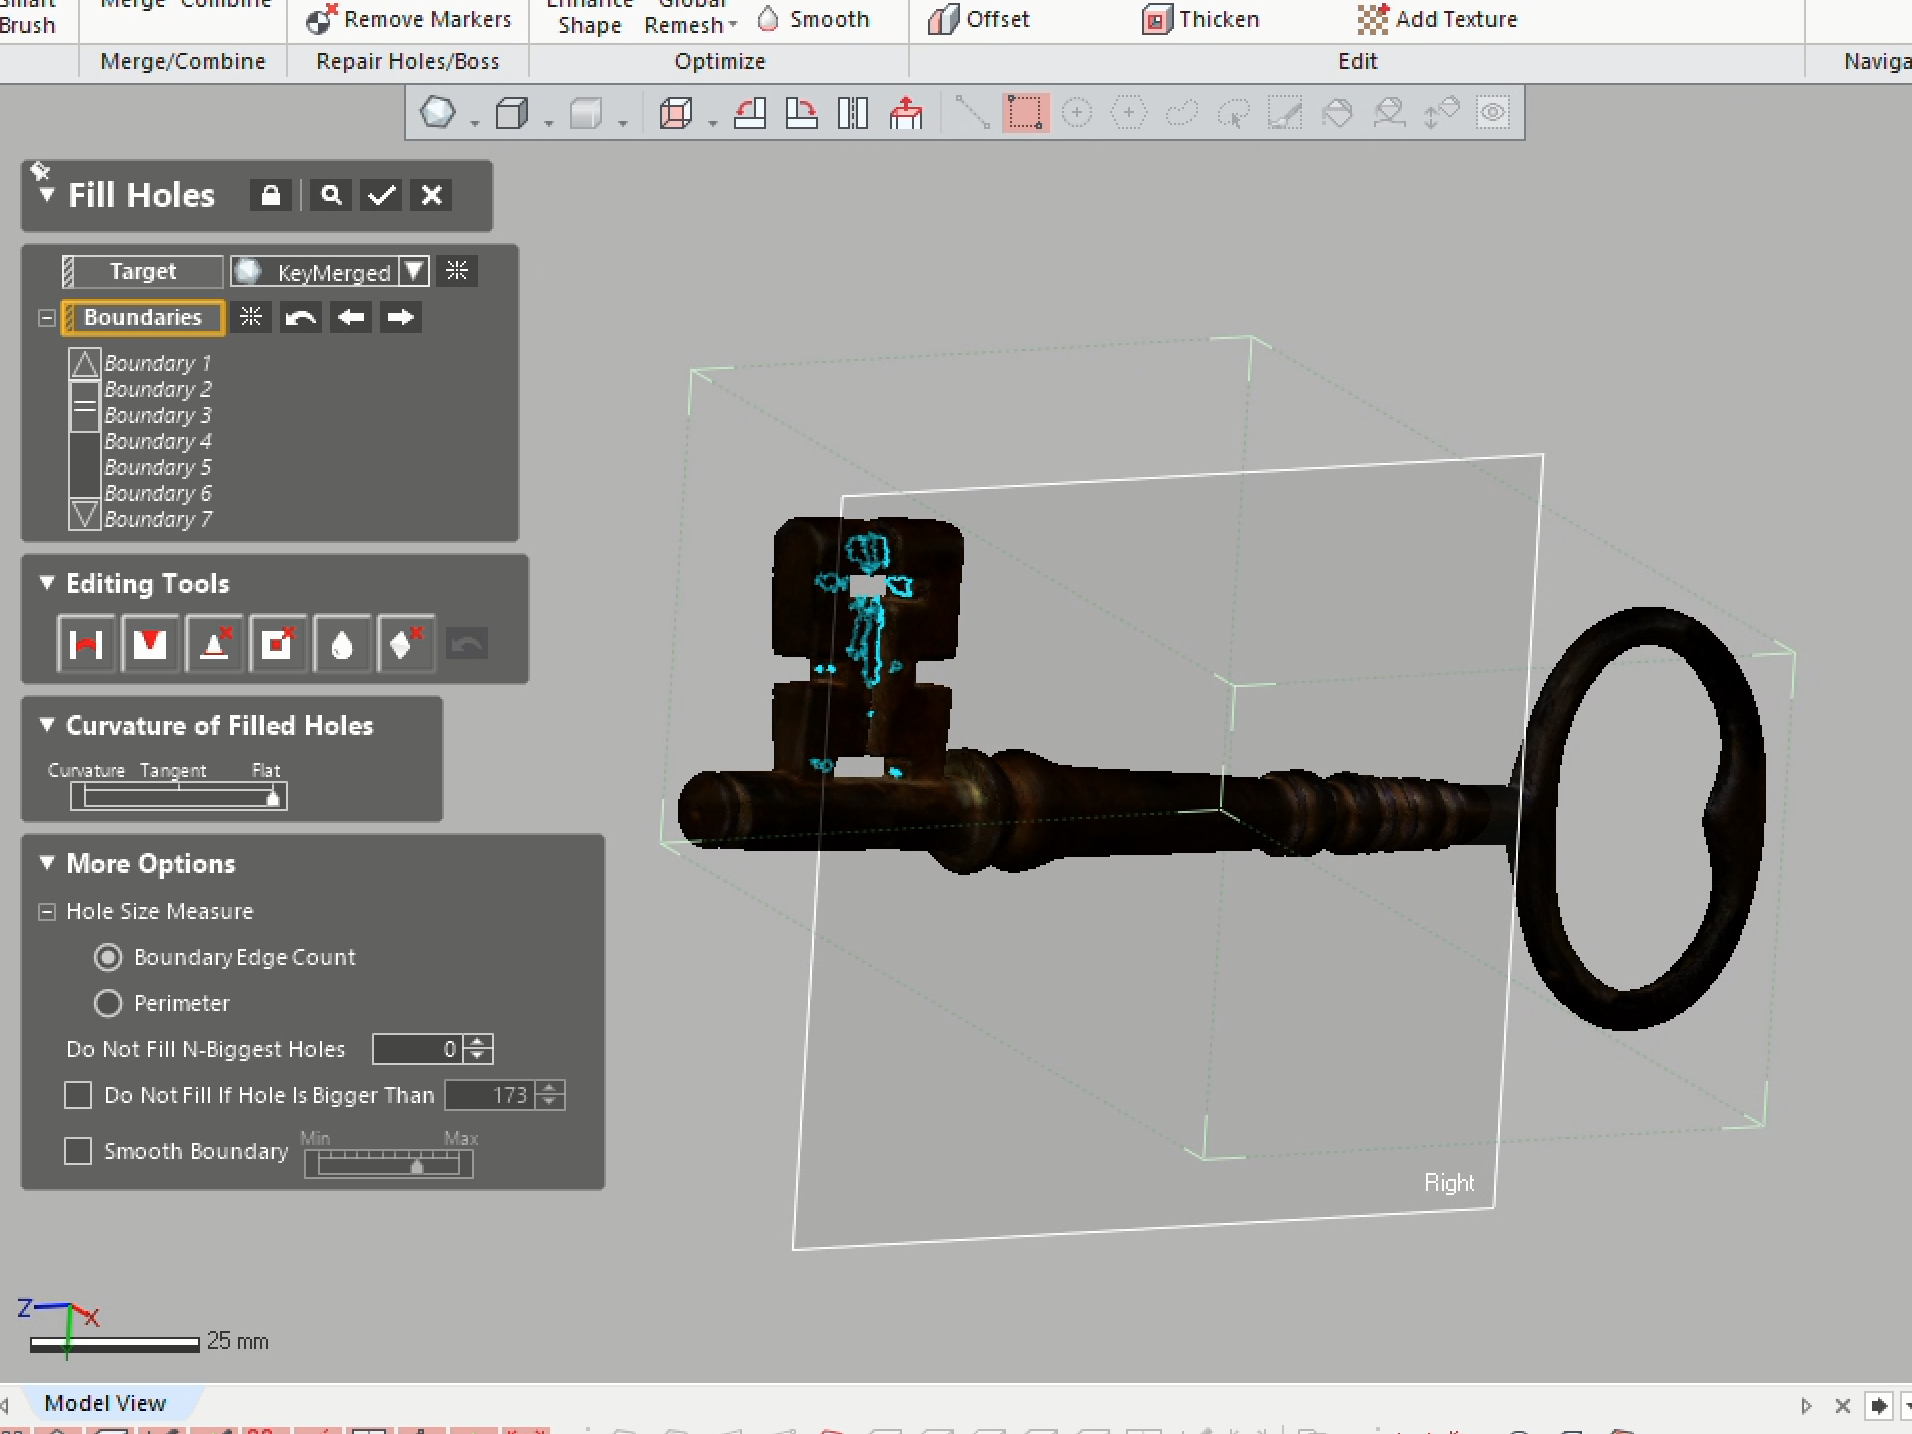
Once the scans have been aligned, it’s time to fill any gaps in the model.
Finally, the model is finished and ready to be exported.
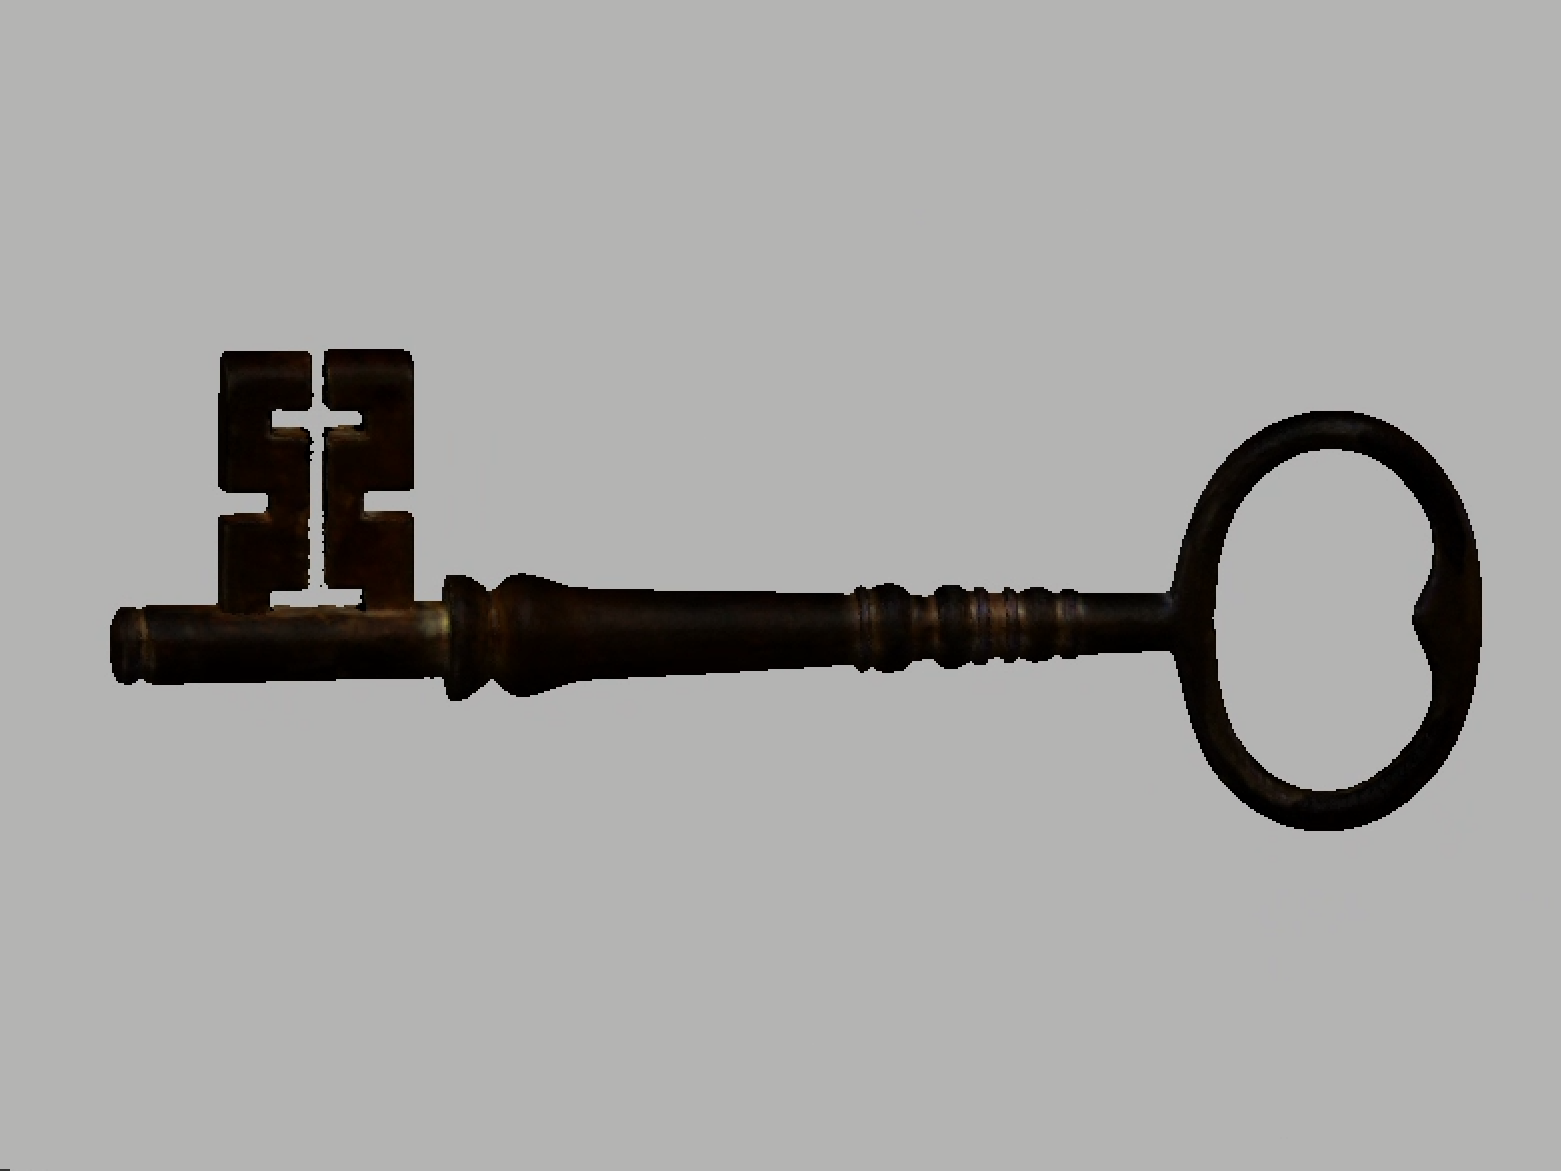
The end result is a comprehensive 3D record of the object:
To see more of my small-scale scanning work, including but not limited to documentation, select a project below:
-
Adventures in 3d printing
Learning about 3D printing was an project spanning much of spring 2023. Read more
-

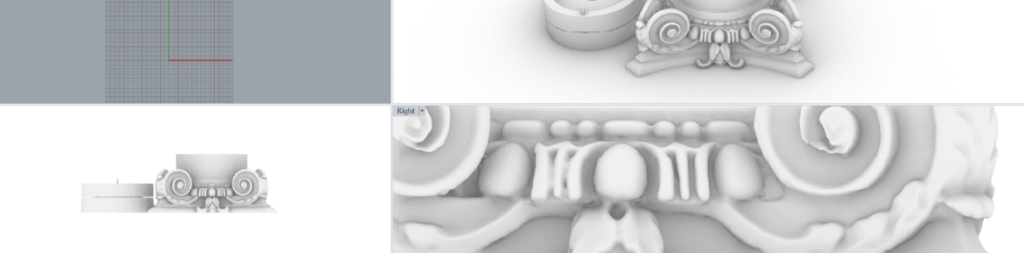
Pavilion II Details
One of the first projects we worked on during spring 2023 was scanning the architectural details inside Pavilion II in UVA’s Academical Village. Read more
