
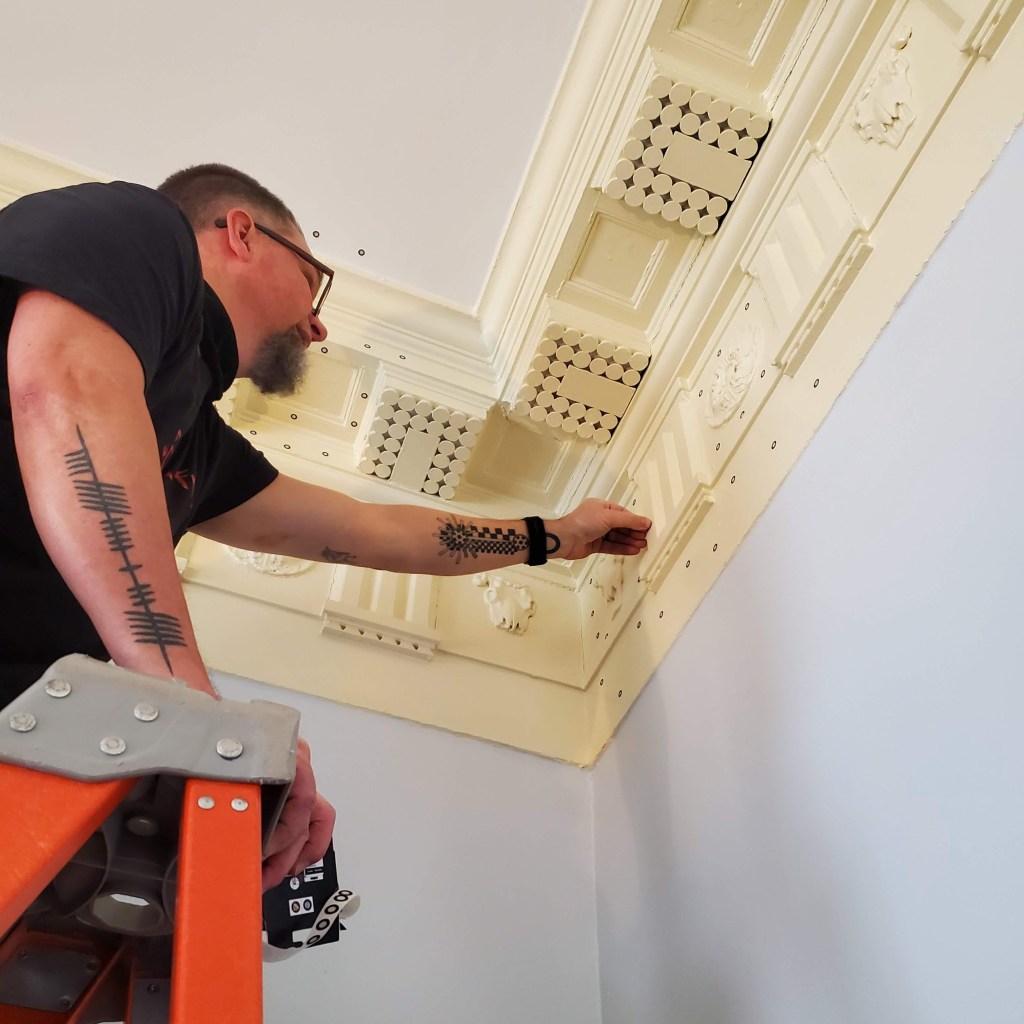
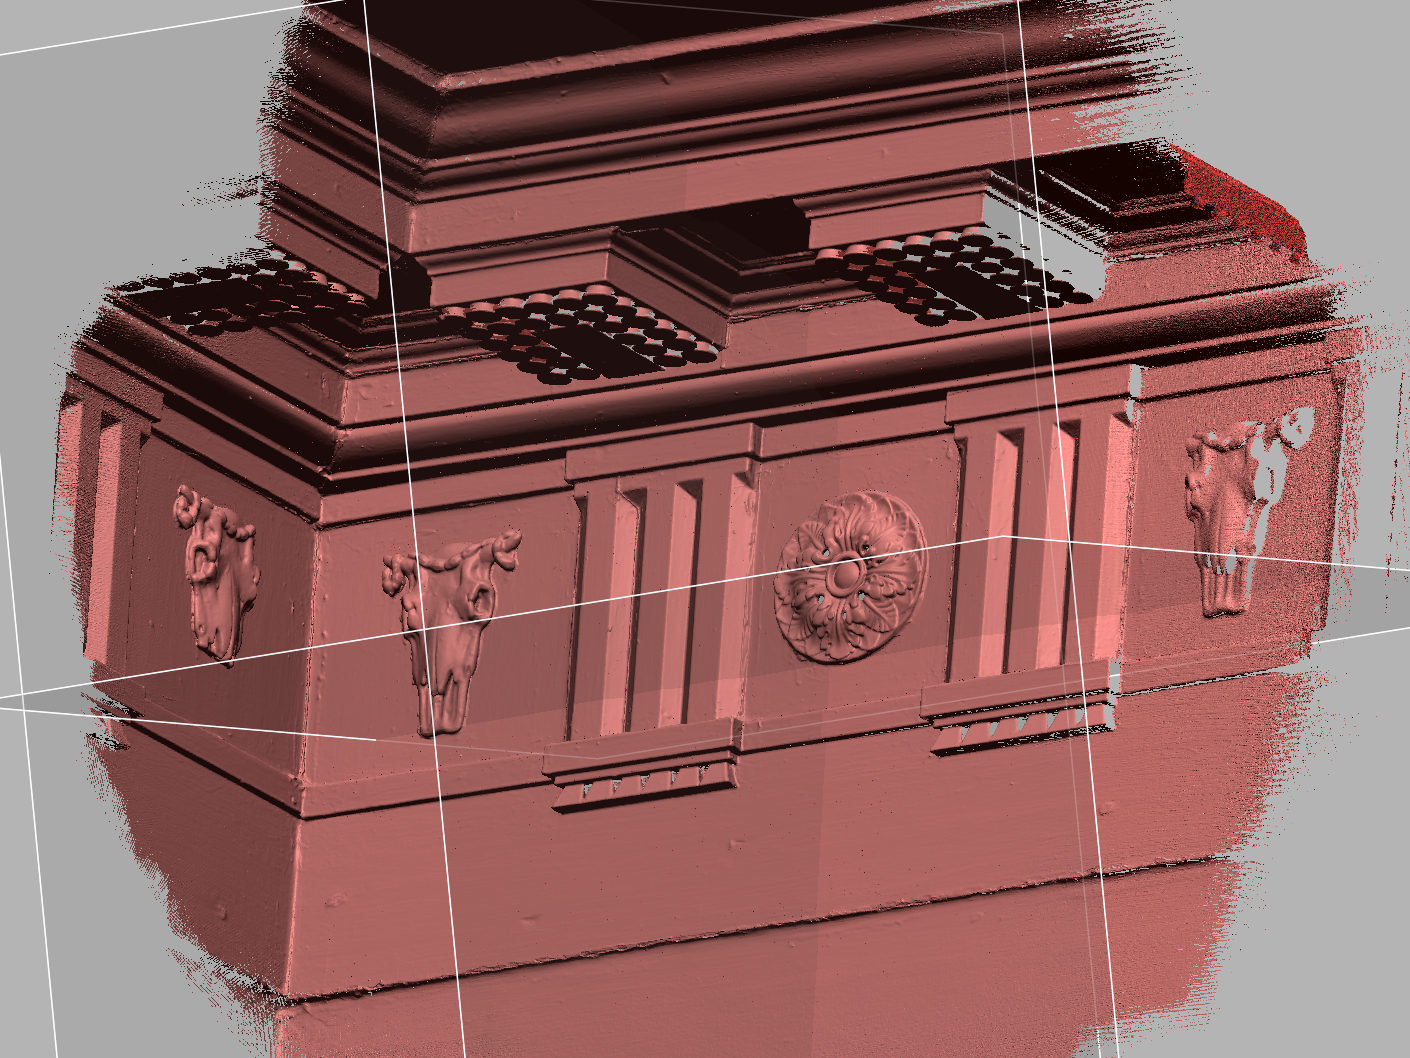
One of the first projects we worked on during spring 2023 was scanning the architectural details inside Pavilion II in UVA’s Academical Village. We had multiple goals for this project: We wanted to document and then 3D print the rosettes and bucrania in the frieze, as well as analyze the traces left behind after the rosettes in the coffers were removed to see if we could match them to rosettes in another pavilion.
the frieze rosette
computer work
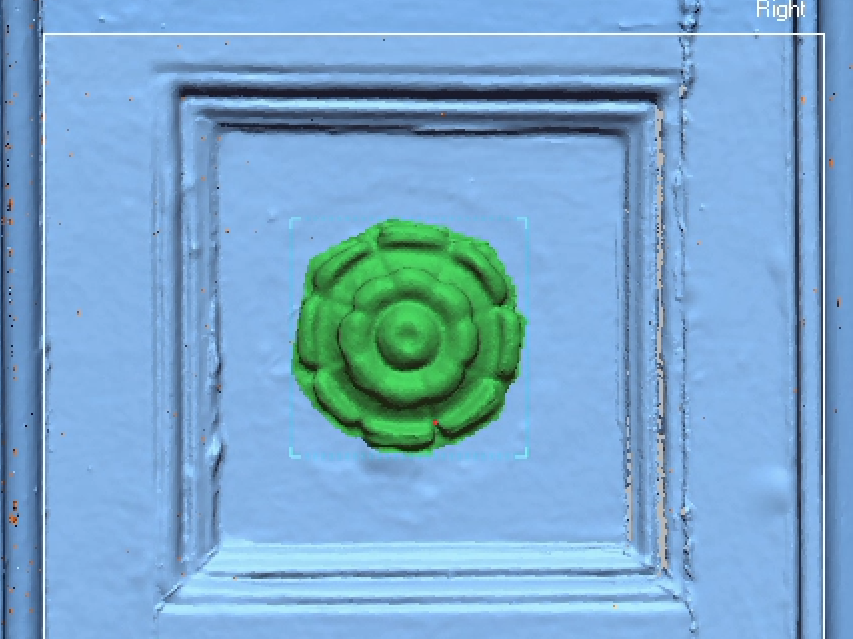
Our first project was isolating one of the details in the frieze in order to reproduce it through 3D printing. When the scan data was first imported into GeoMagic, there was a lot more information than was necessary for our individual projects. Therefore, the first step was removing the extra data.
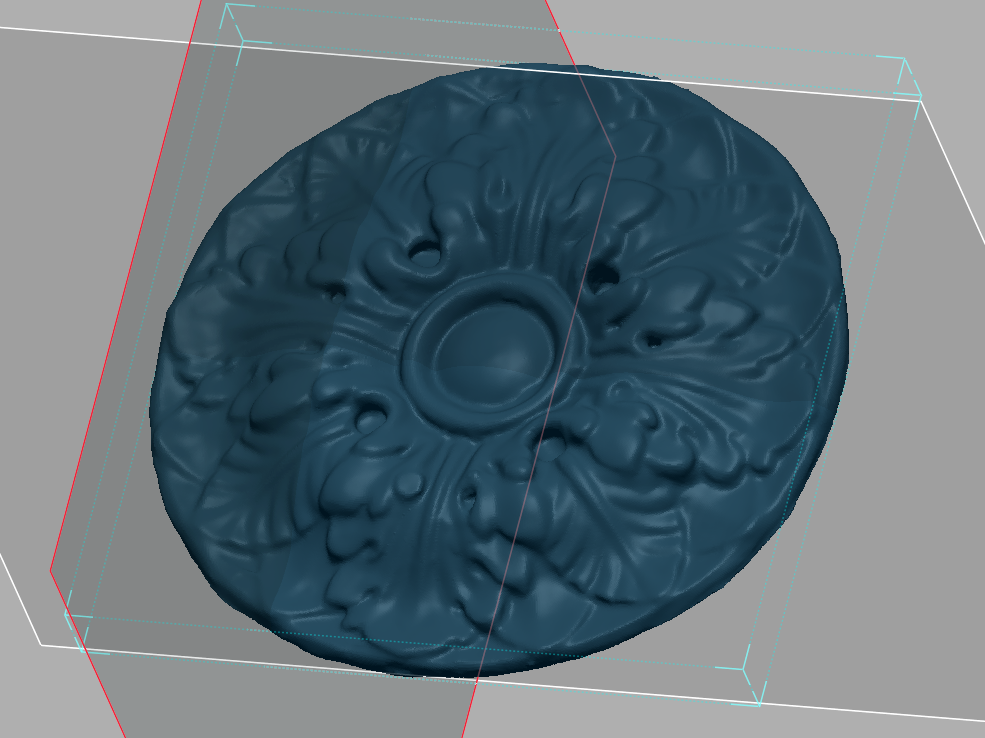
The extra information encompassed the whole corner of the room
Once the extra data was removed, the next steps were to fill any holes in the surface, so the printer would have a solid object to work with. This was also done in GeoMagic, using the Fill Holes and the Global ReMesh tools. The end result was a solid object, but the rosette was very thin around the edges.
I could have stopped here, and printed the rosette despite the thinness. However, we wanted to make chocolate molds using the printed object, so more thickness would definitely be better. Therefore, I exported the rosette as an .stl file and brought it into Rhino to edit it a bit more. In Rhino I was able to add some volume by extruding the back of the mesh.
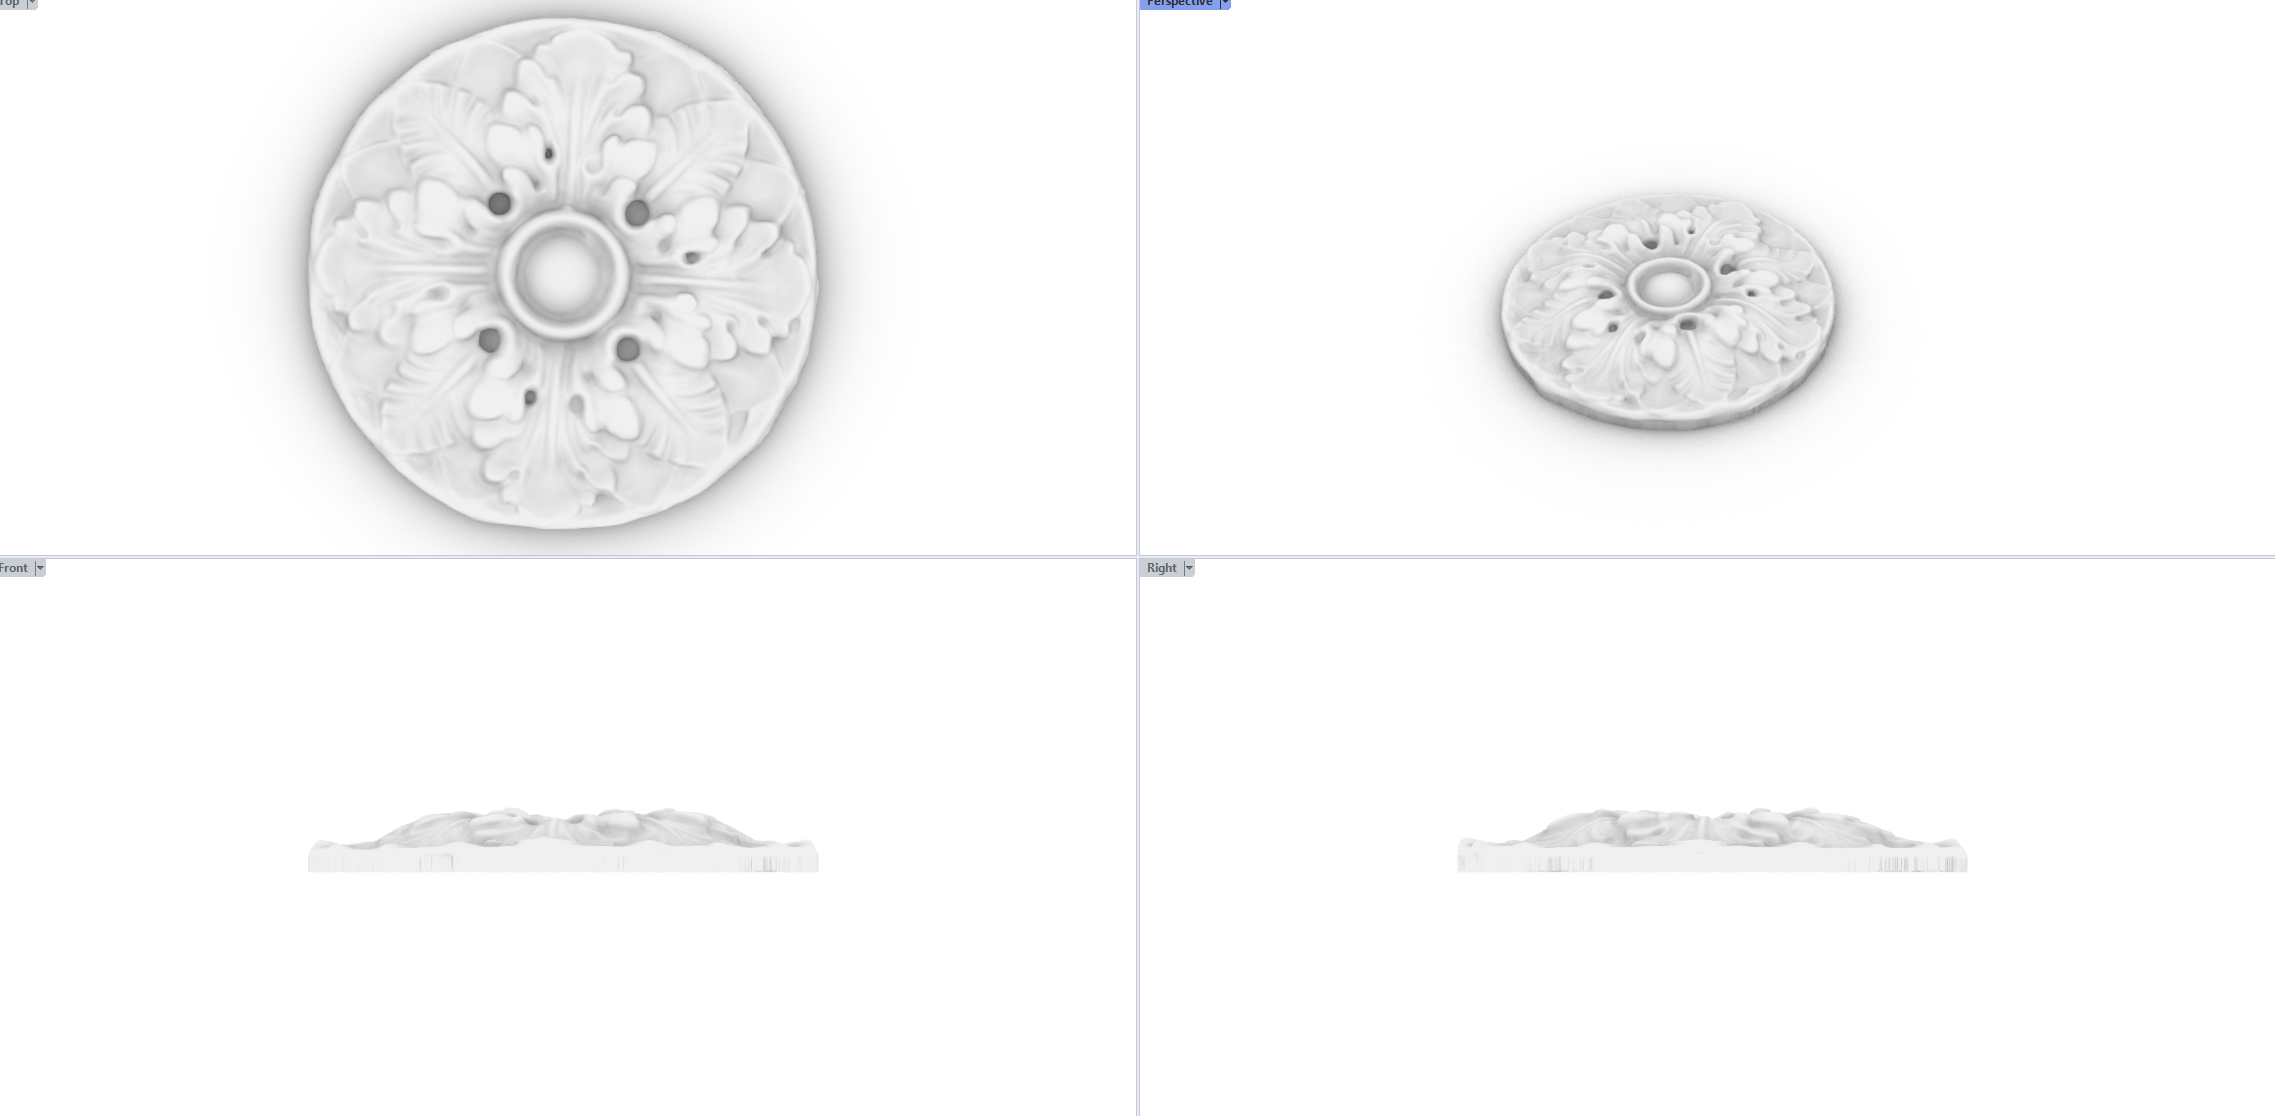
In Rhino, I added some depth to the rosette before exporting it to print
printing
The next step was actually printing the rosette! There were a lot of options, but I chose to go with the MakerBot Replicator+ in the UVA Library for ease of access. These printers have a slightly lower resolution than other options, but are fairly quick and simple to use.
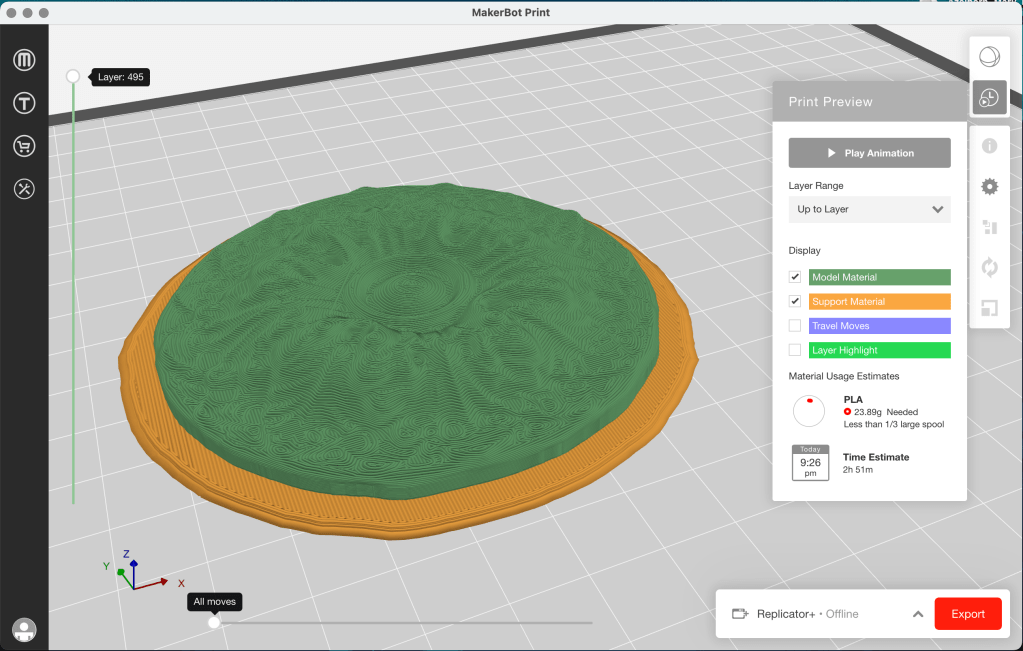
Slicing softwares turn models into files a 3D printer can read
Originally, the rosette was about 150 cm across. While that was just small enough to fit on the print bed, it was still too big for my end goal of chocolates. Thankfully, slicing softwares make scaling models easy, so it was the work of moments to make it half the original size. The result was just right for a candy mold! Another positive of scaling the rosette down was that it required less time to print, as well.
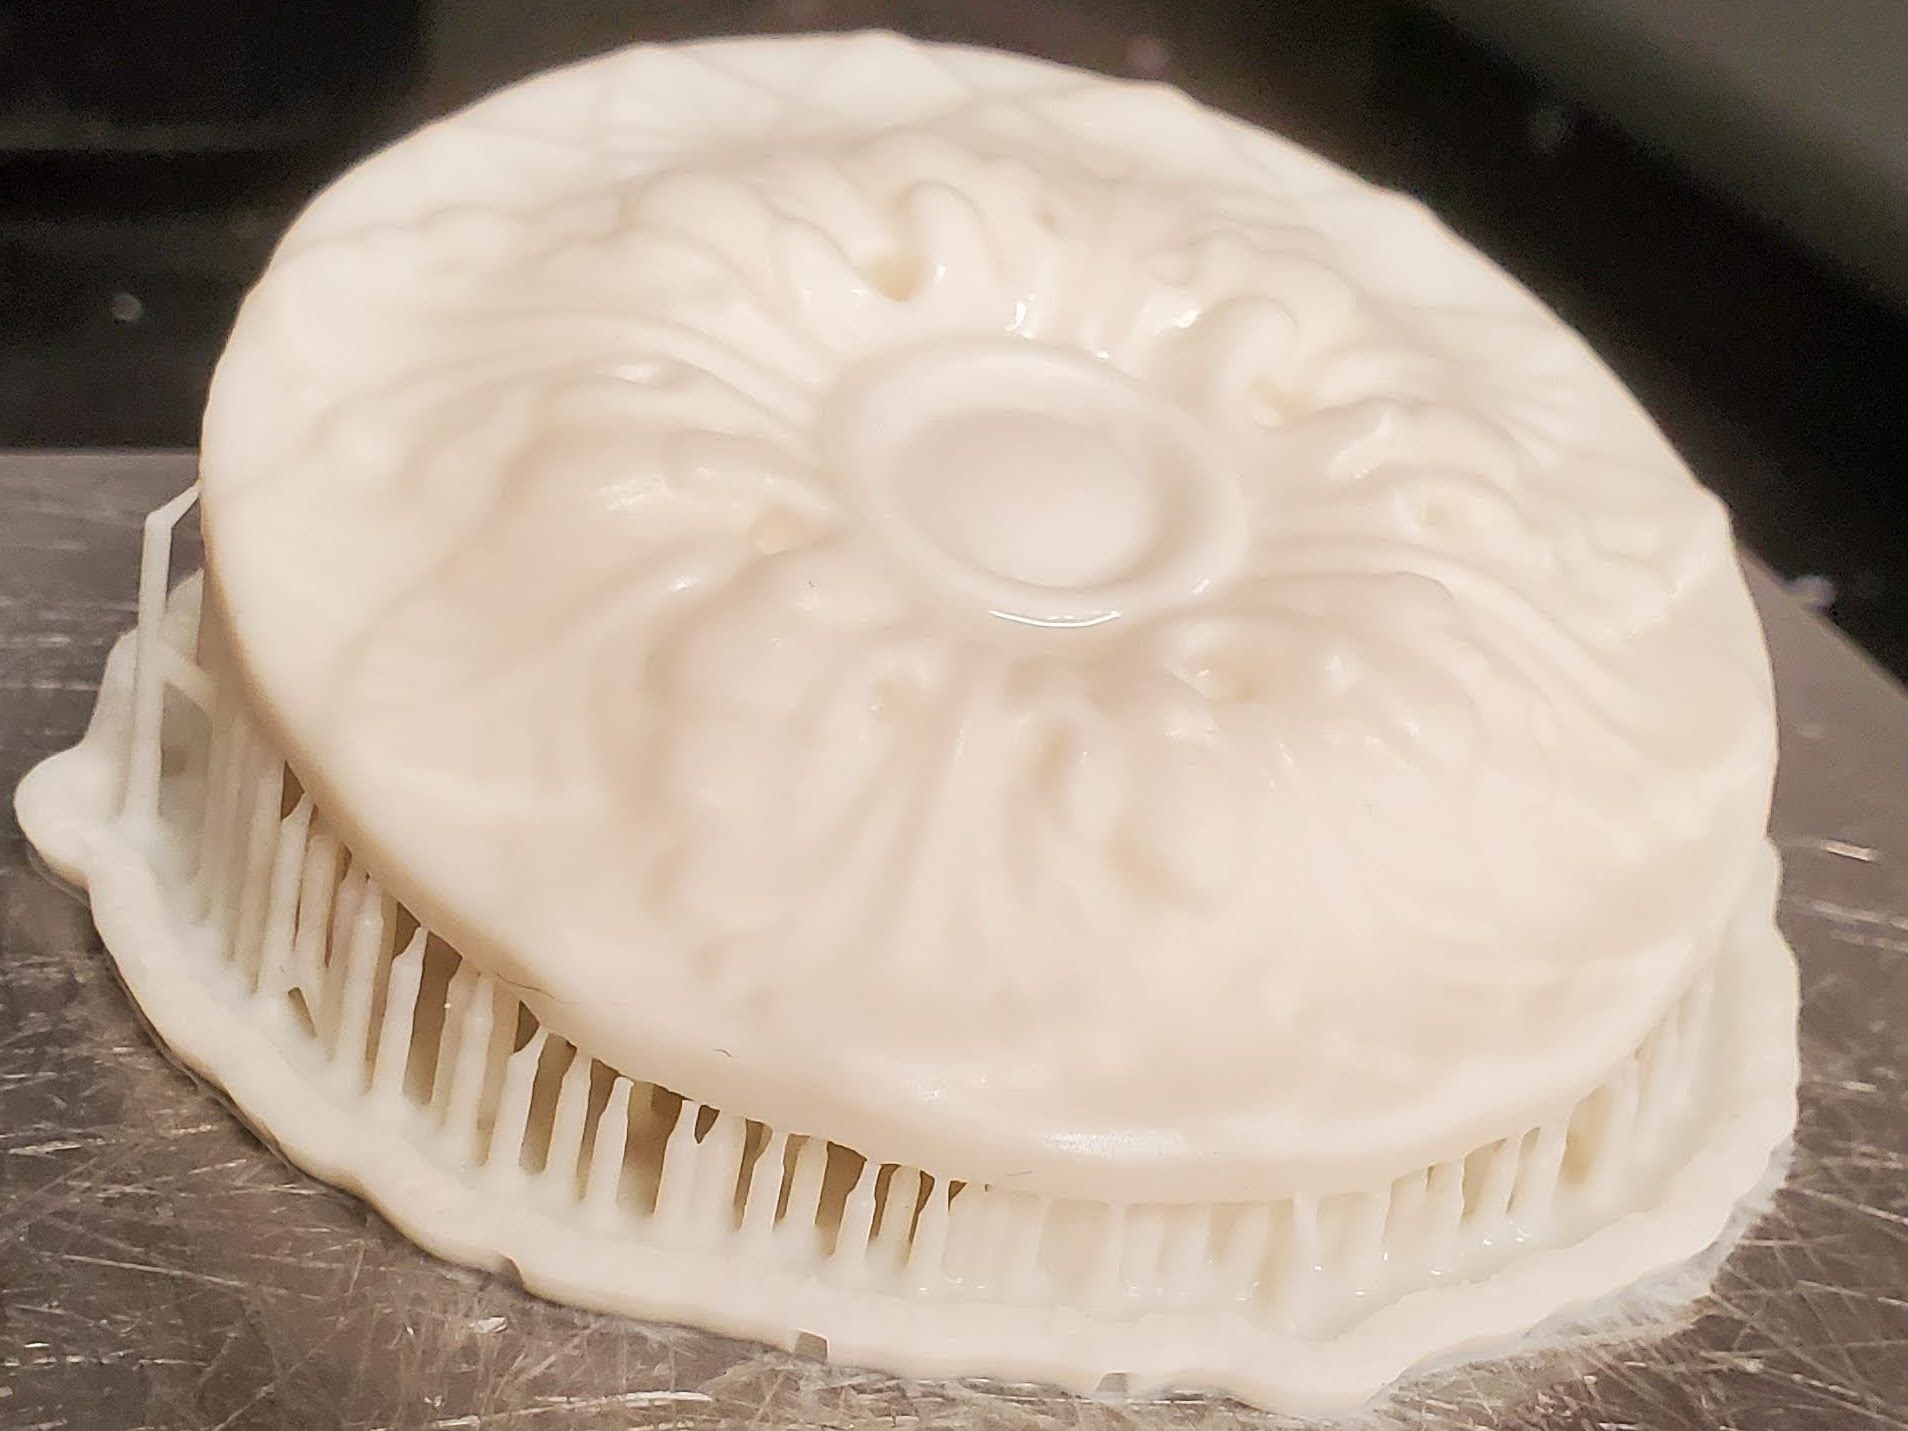
After printing using the MakerBot, I chose to investigate other printers. The FormLabs Form 3+ in the A-School FabLab was my next choice, because it offers a much higher resolution. The details in the end result were much clearer.
<- The resin print created using the FormLabs printer
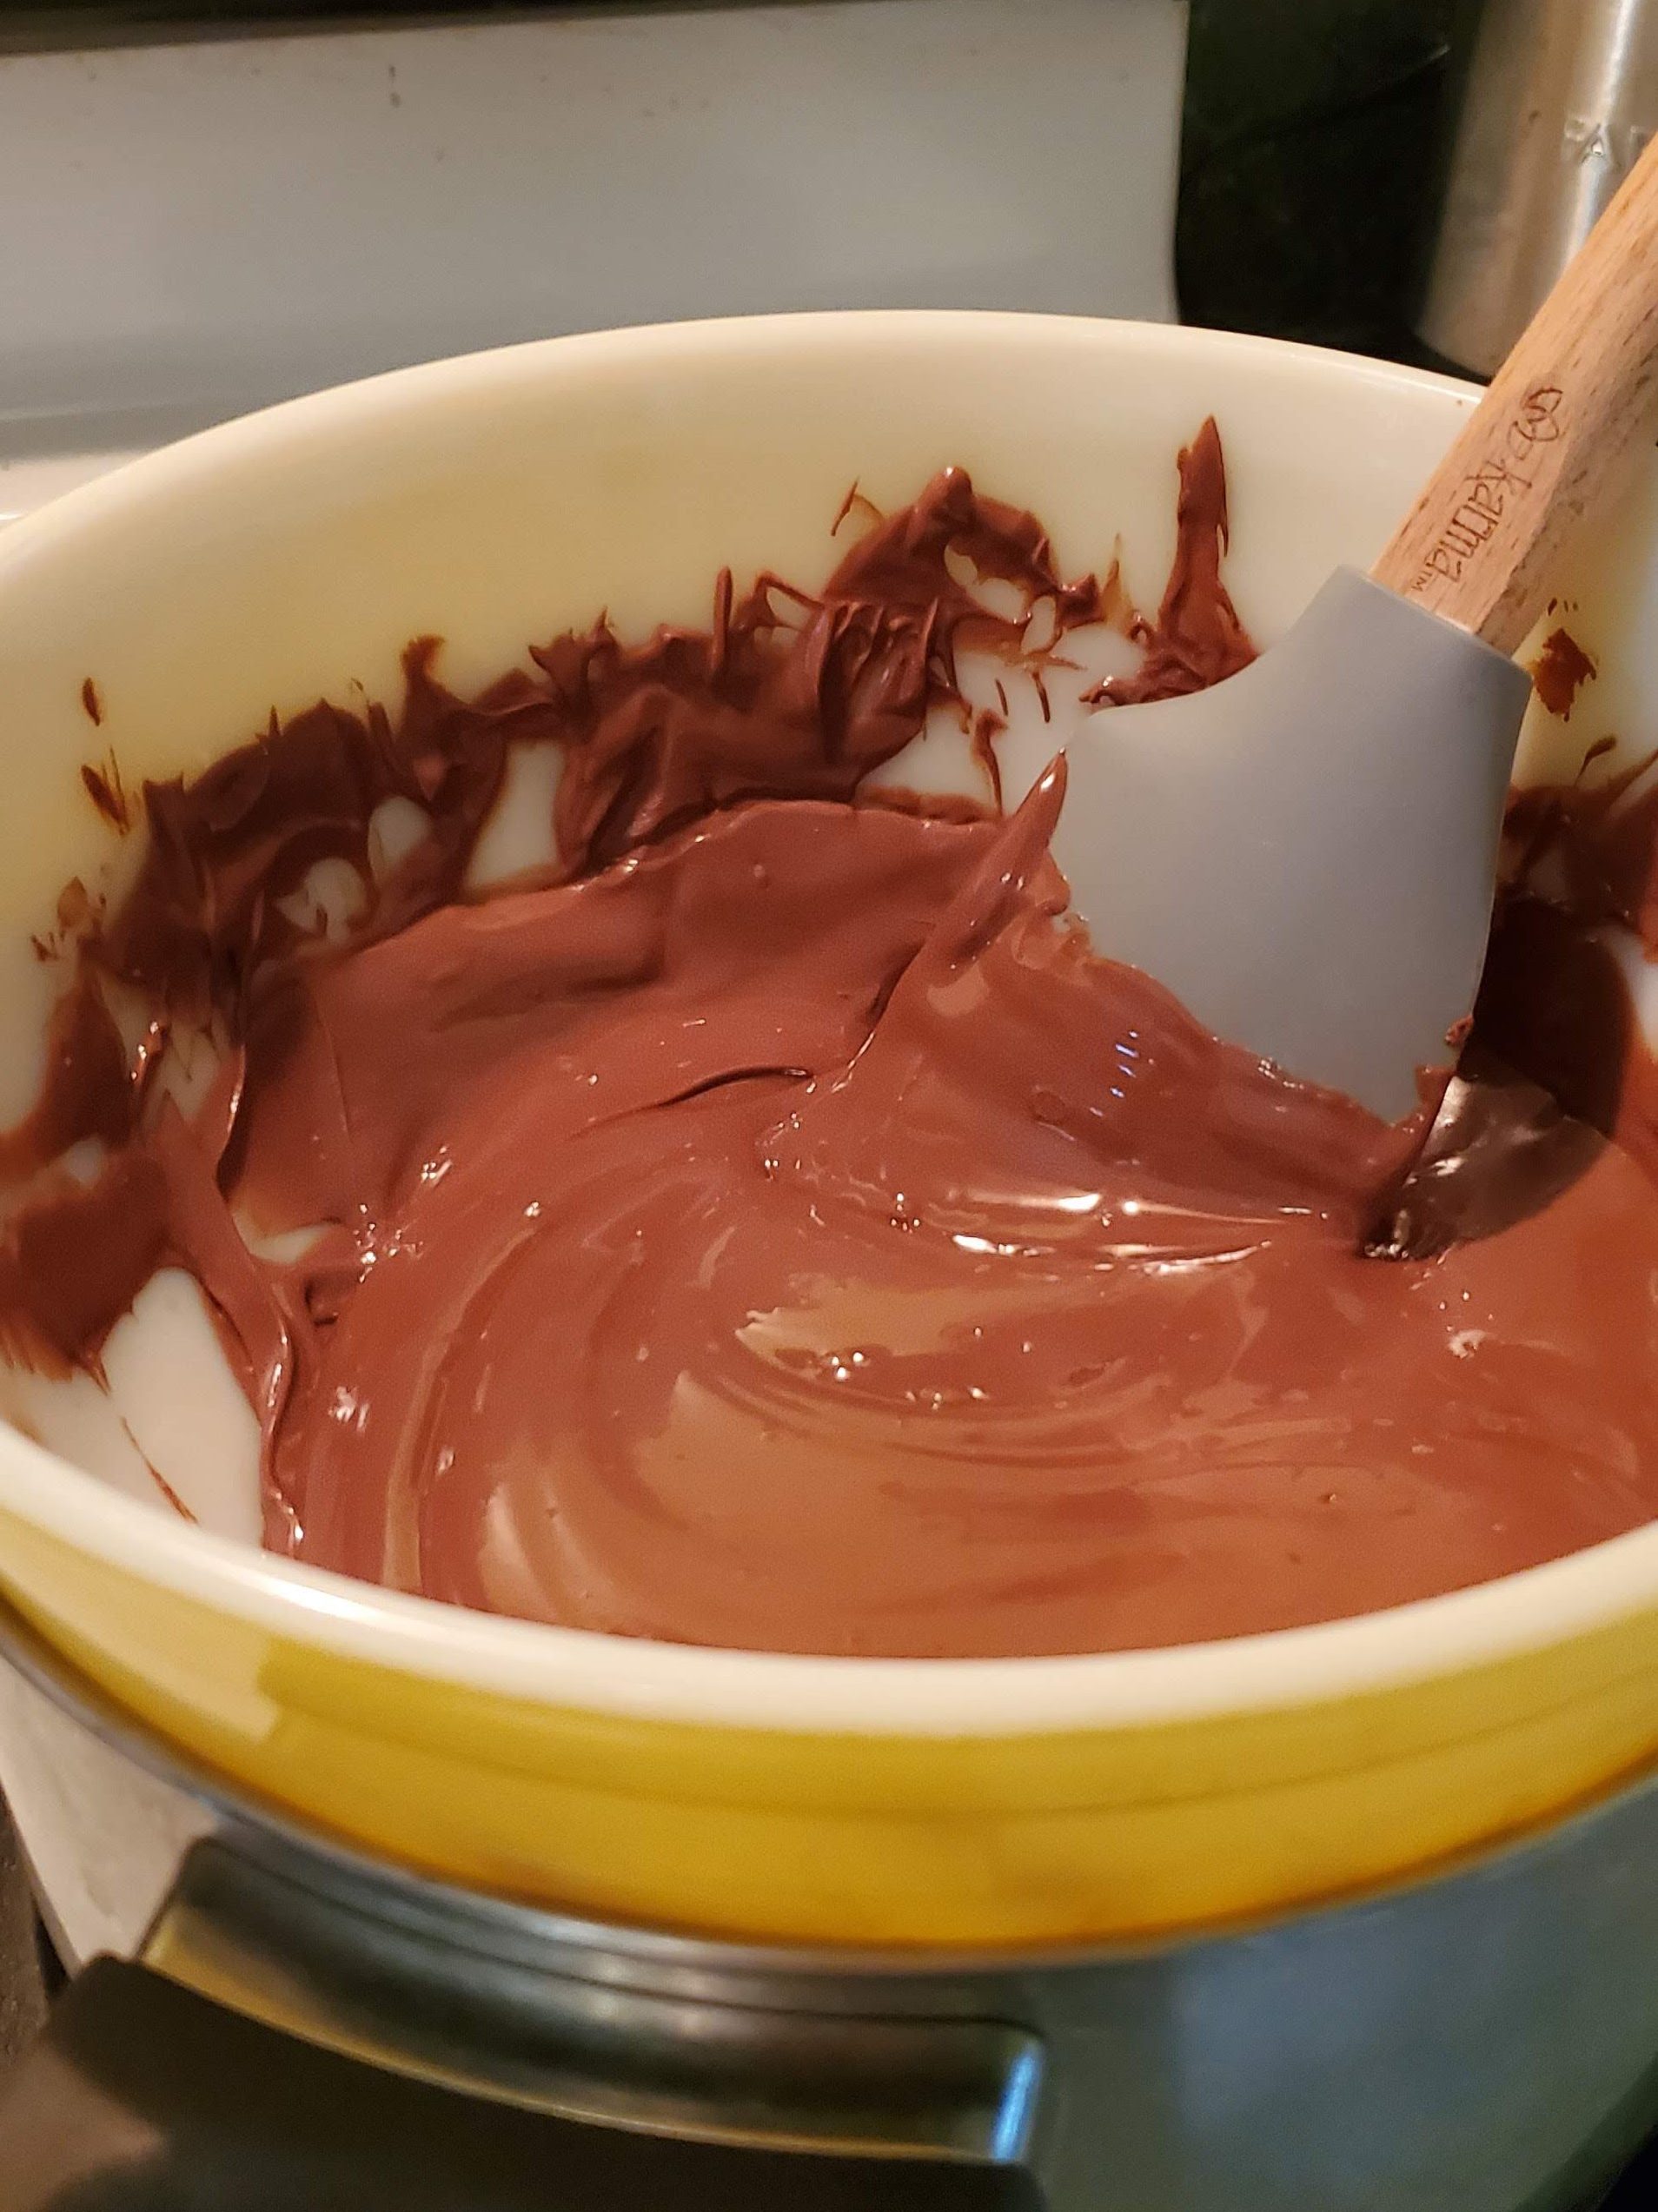
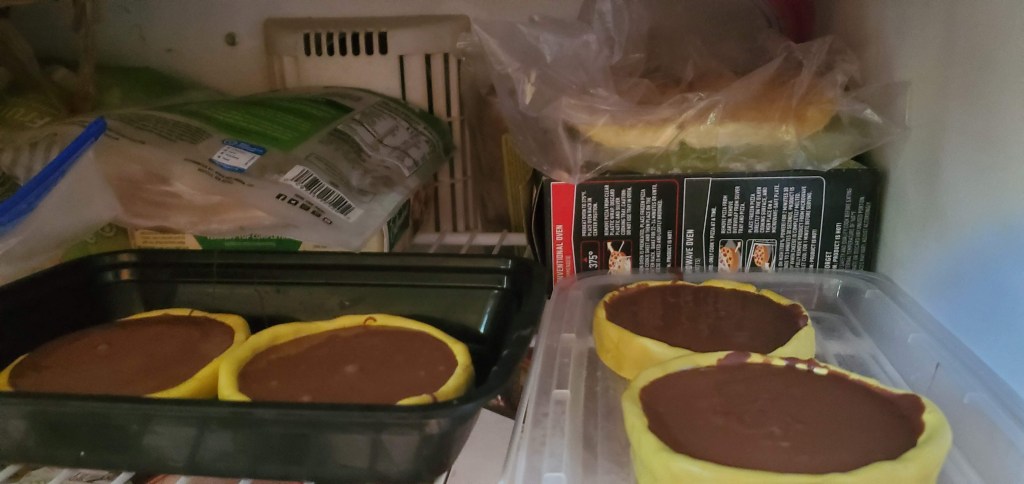
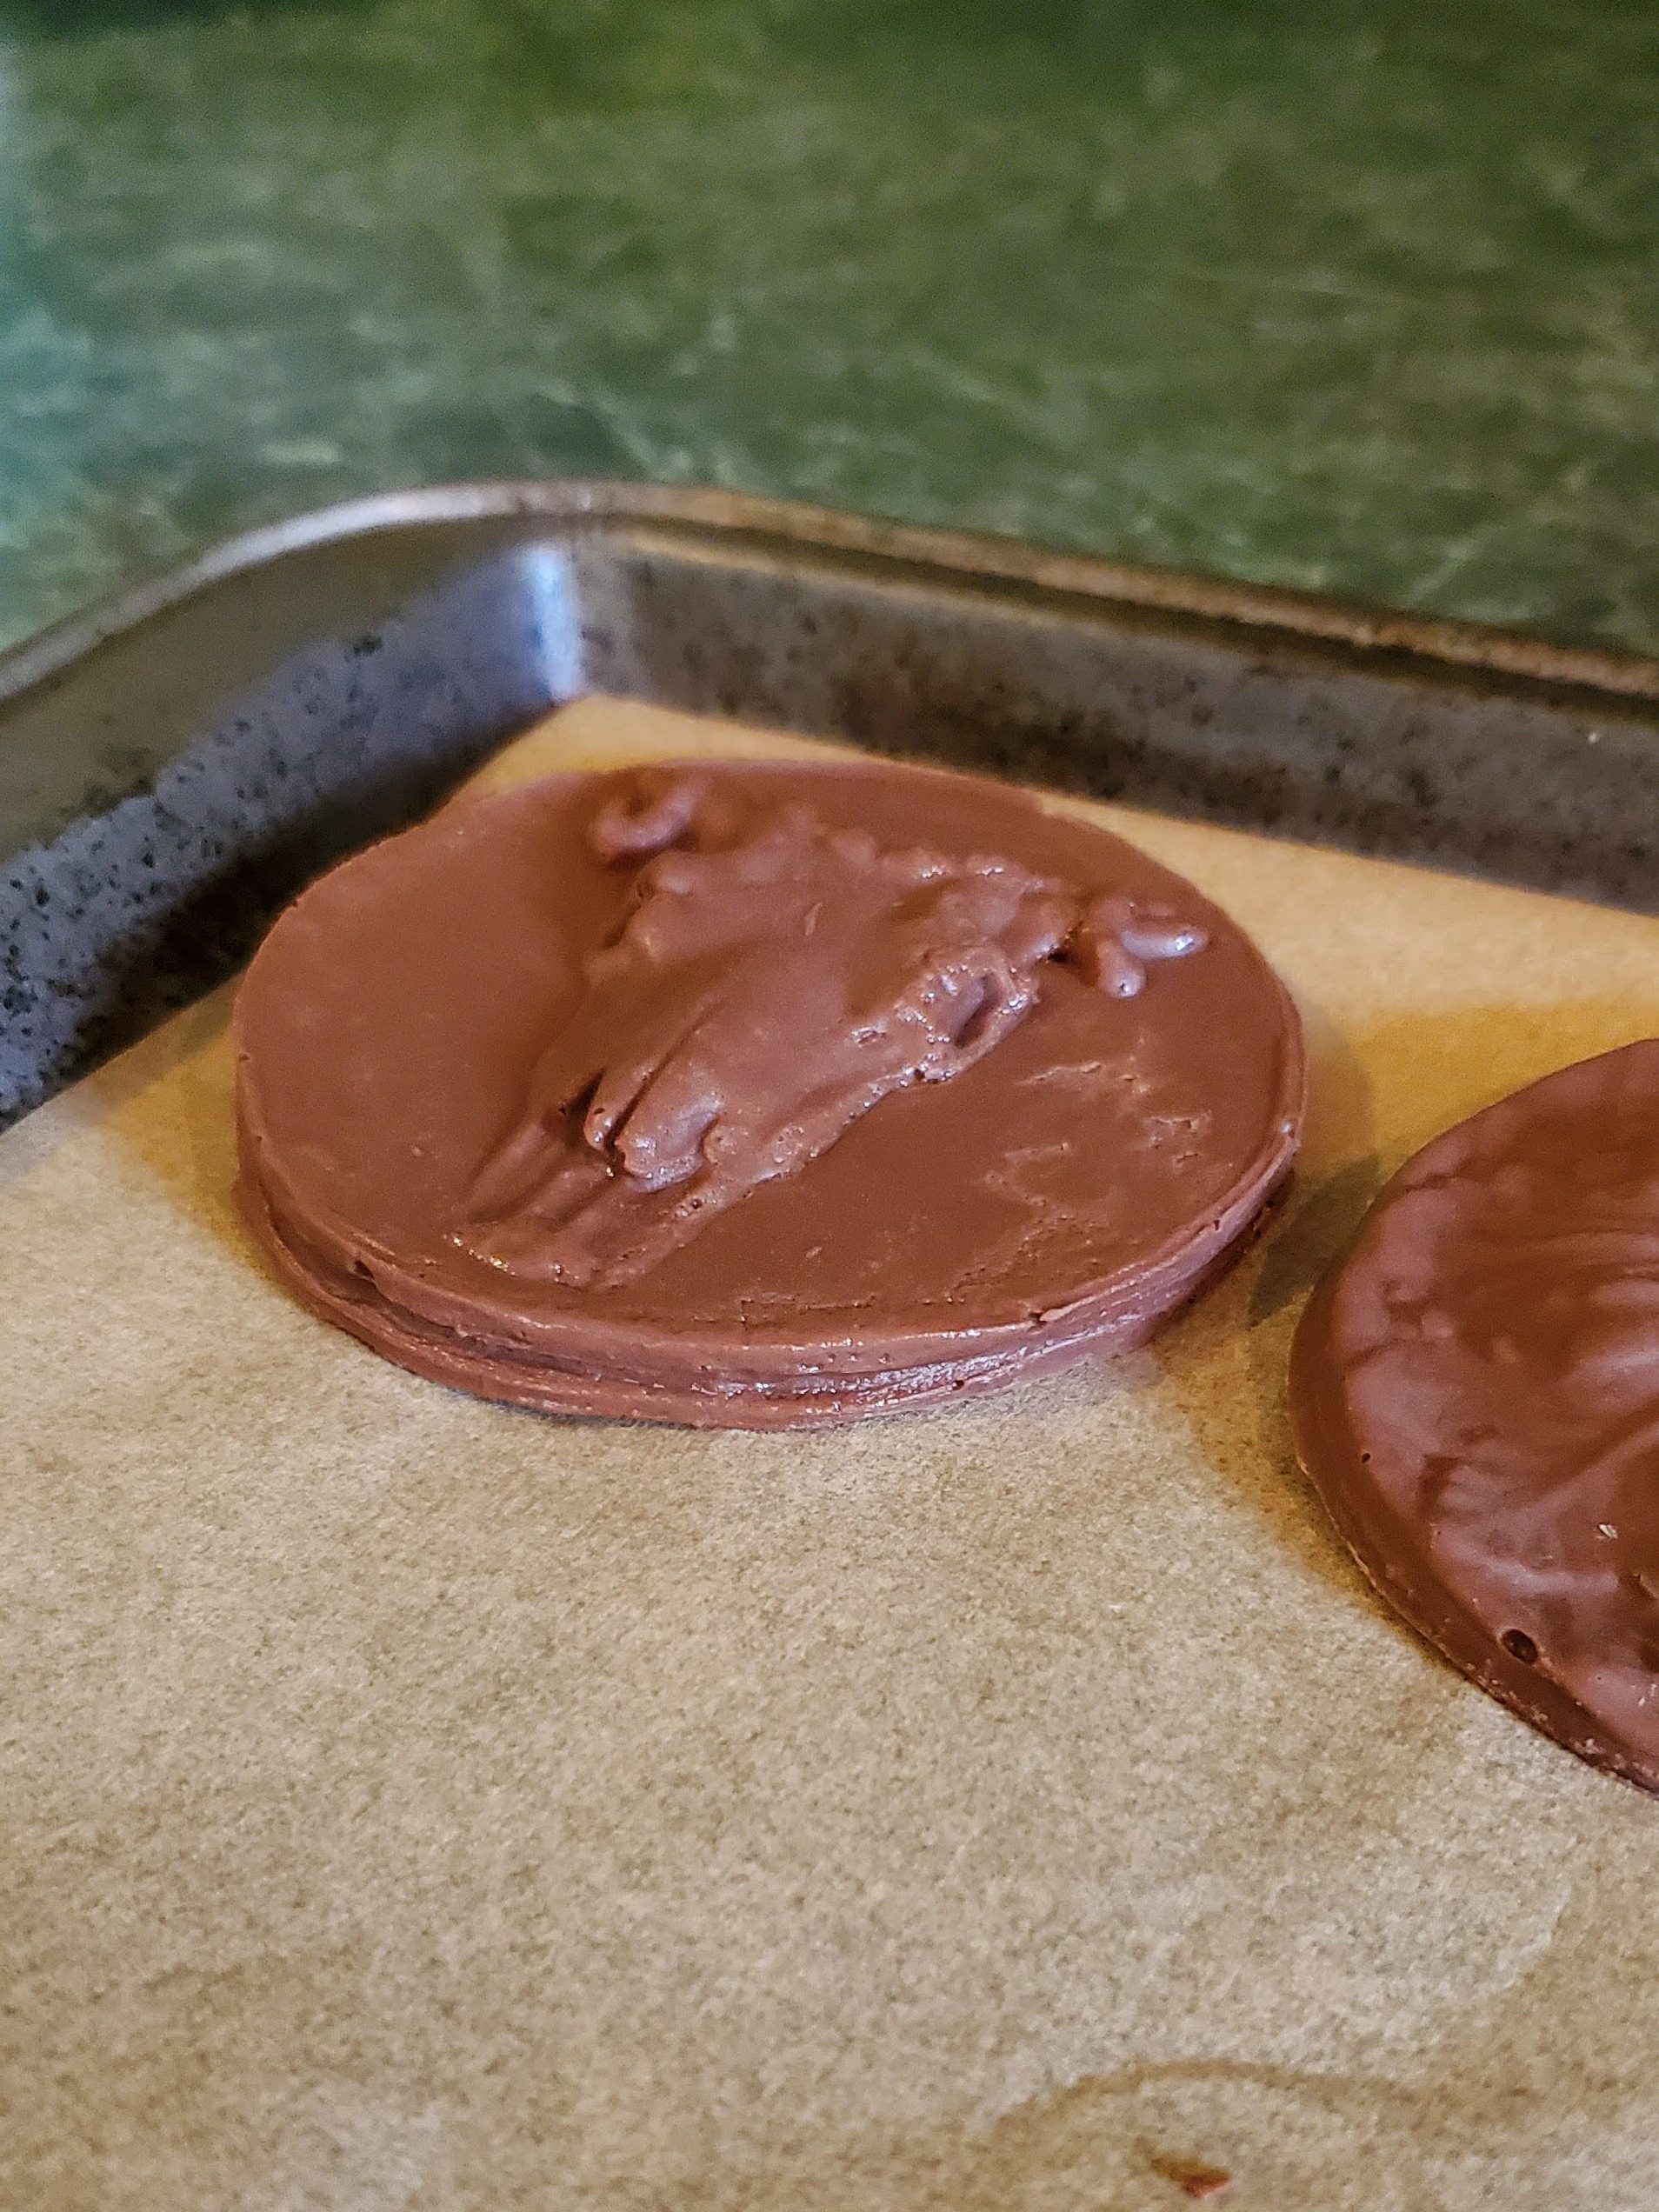
Then we made chocolate molds, and chocolate!

The coffer rosette
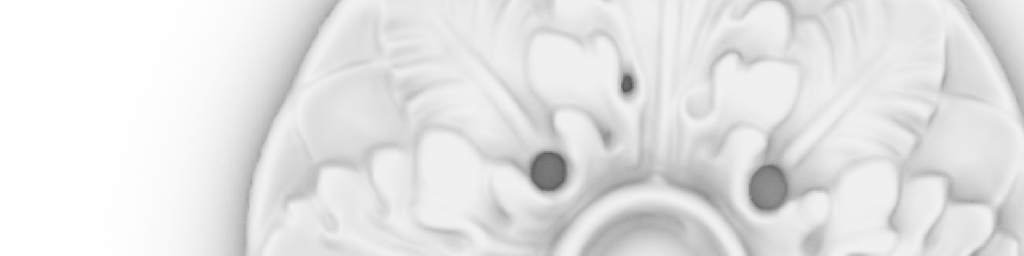
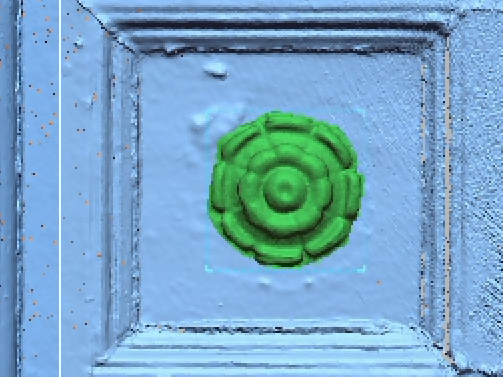
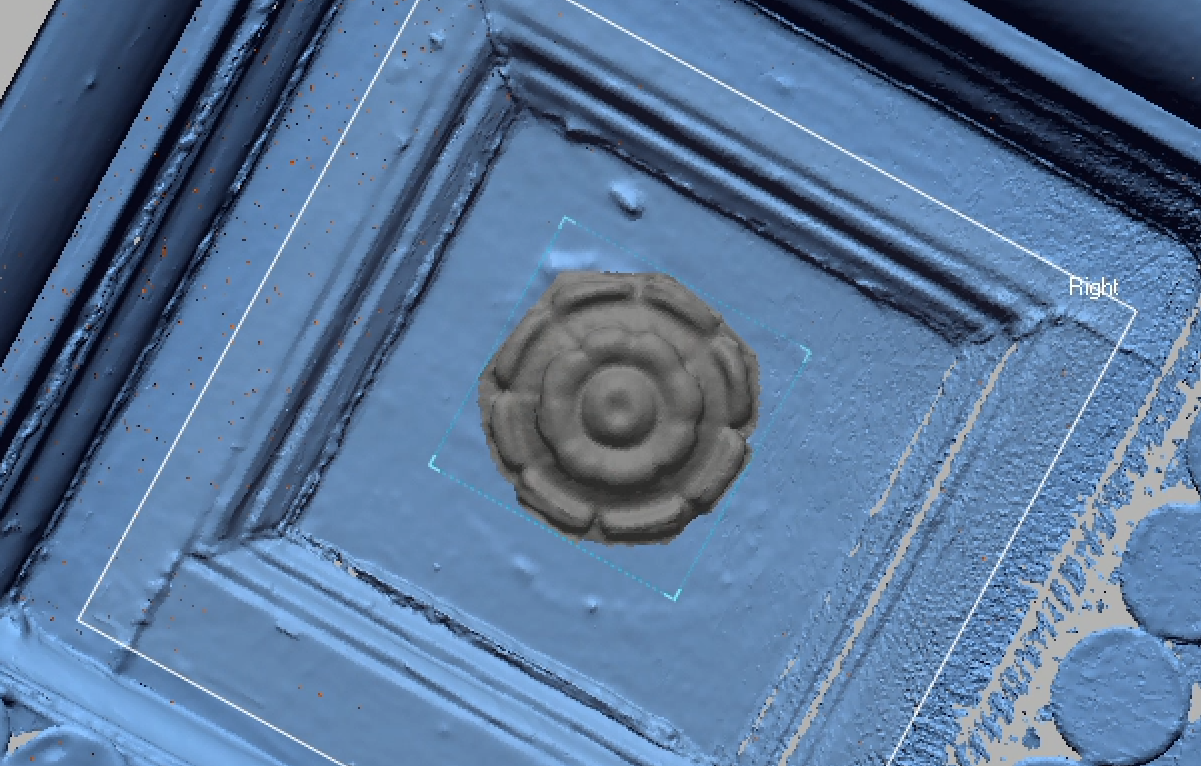
Sometime throughout the history of Pavilion II, the rosettes which used to fill each coffer in the ceiling were removed. Unfortunately, when this was done, no record was made of exactly what those rosettes originally looked like. However, the rosettes were painted over many times, and removing them left clear traces in the texture of the paint even years later. Scanning allows us to more clearly see those traces, so we can use them to analyze what the profile of the rosettes may have been.
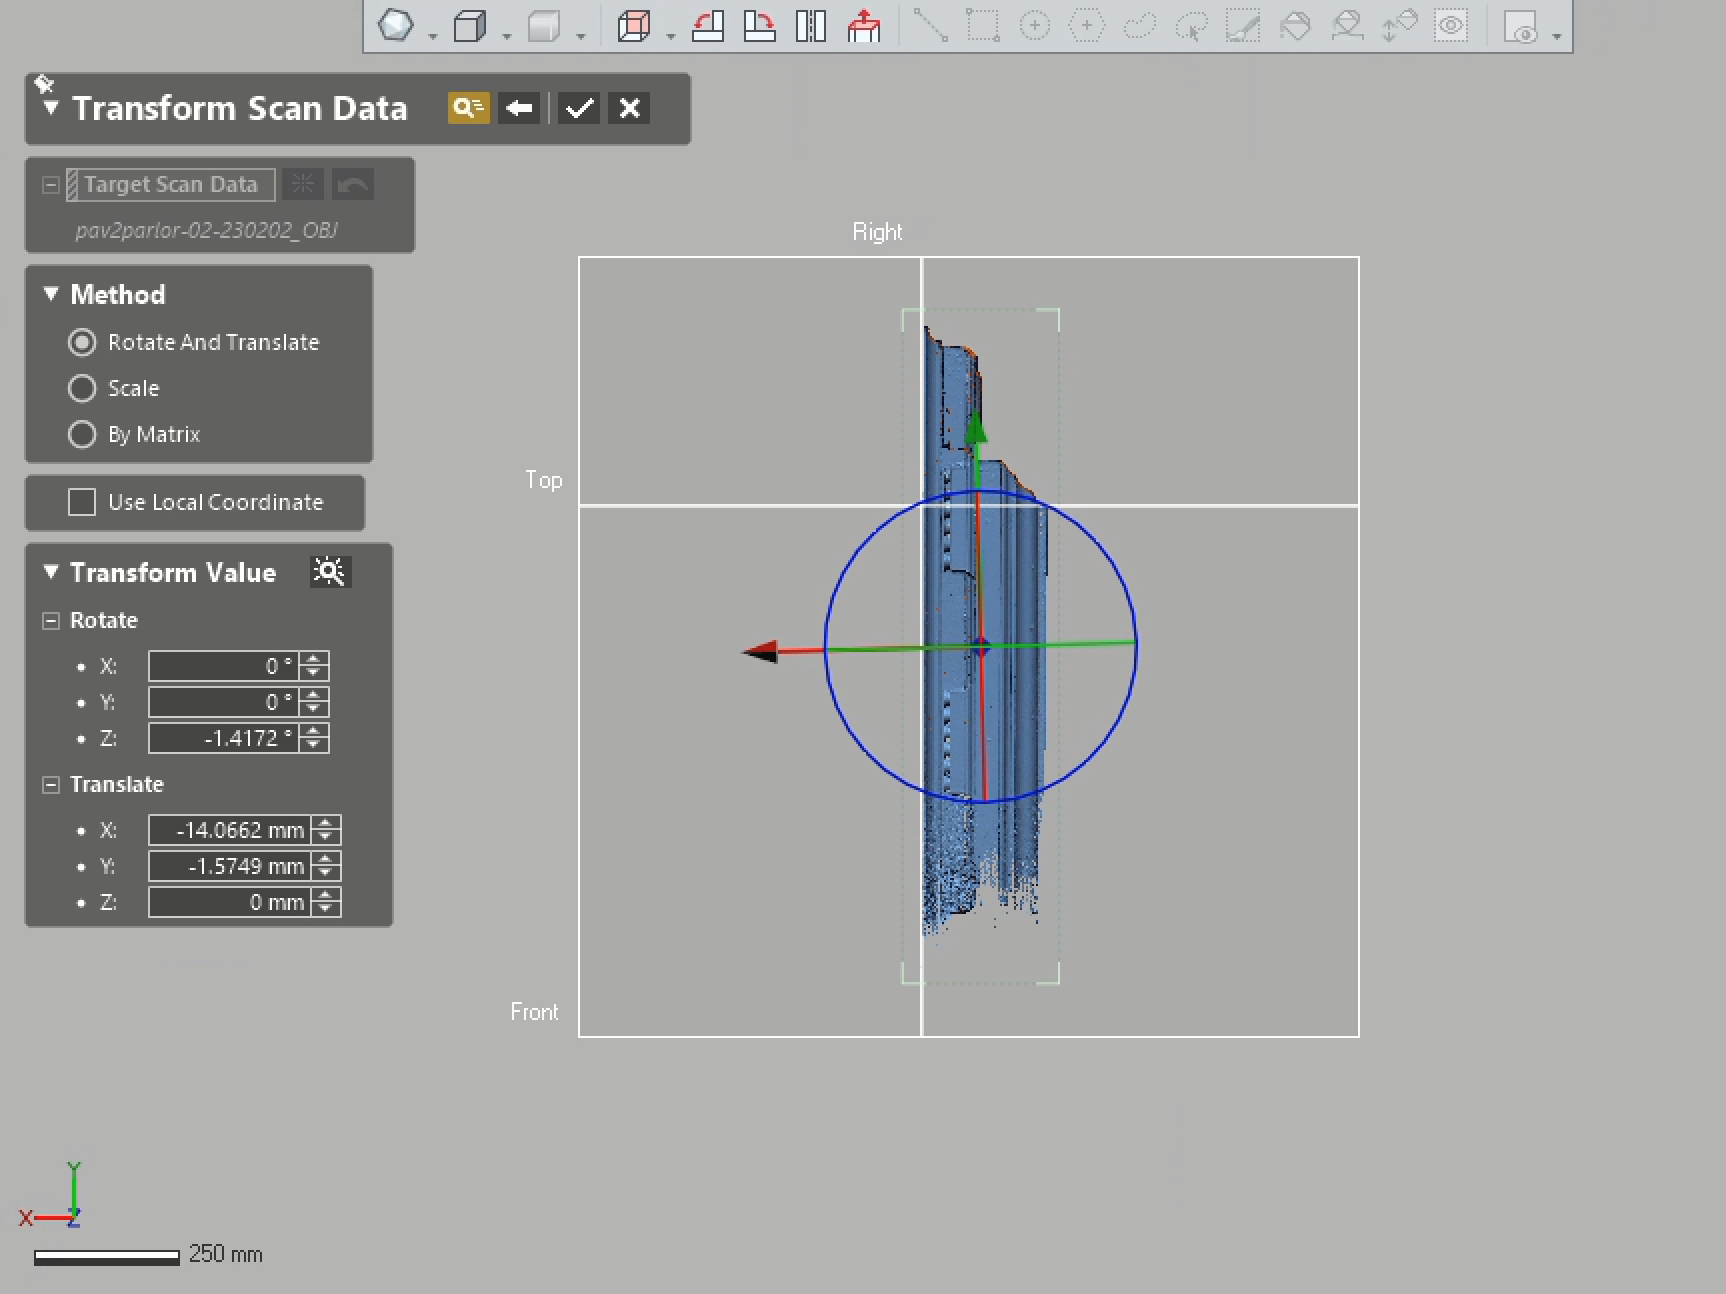
Aligning the data and removing anything extra was the first part of the process
Just as with the frieze, the first step was to isolate the parts of the data that we needed. It was easiest to align the data with the project axes first, and then simply delete everything that wasn’t necessary.
Examining the data made it clear the the rosette had not had any details that greatly disturbed the circular base, eliminating several rosette styles found in other pavilions.
The rosette seen here was scanned previously in Pavilion VIII. Although the shape is clearly close, it’s not quite large enough to match the traces left in the paint. It’s likely that the original rosettes looked very similar, however.

Leave a comment